Submit Form — up to 10 fields, and tags added on approval
Ask for an order ID, a total and a screenshot as separate fields, and tag the customer in Shopify when you approve. Submit Form now takes up to 10 fields.


Summarize this post with AI
Why this matters
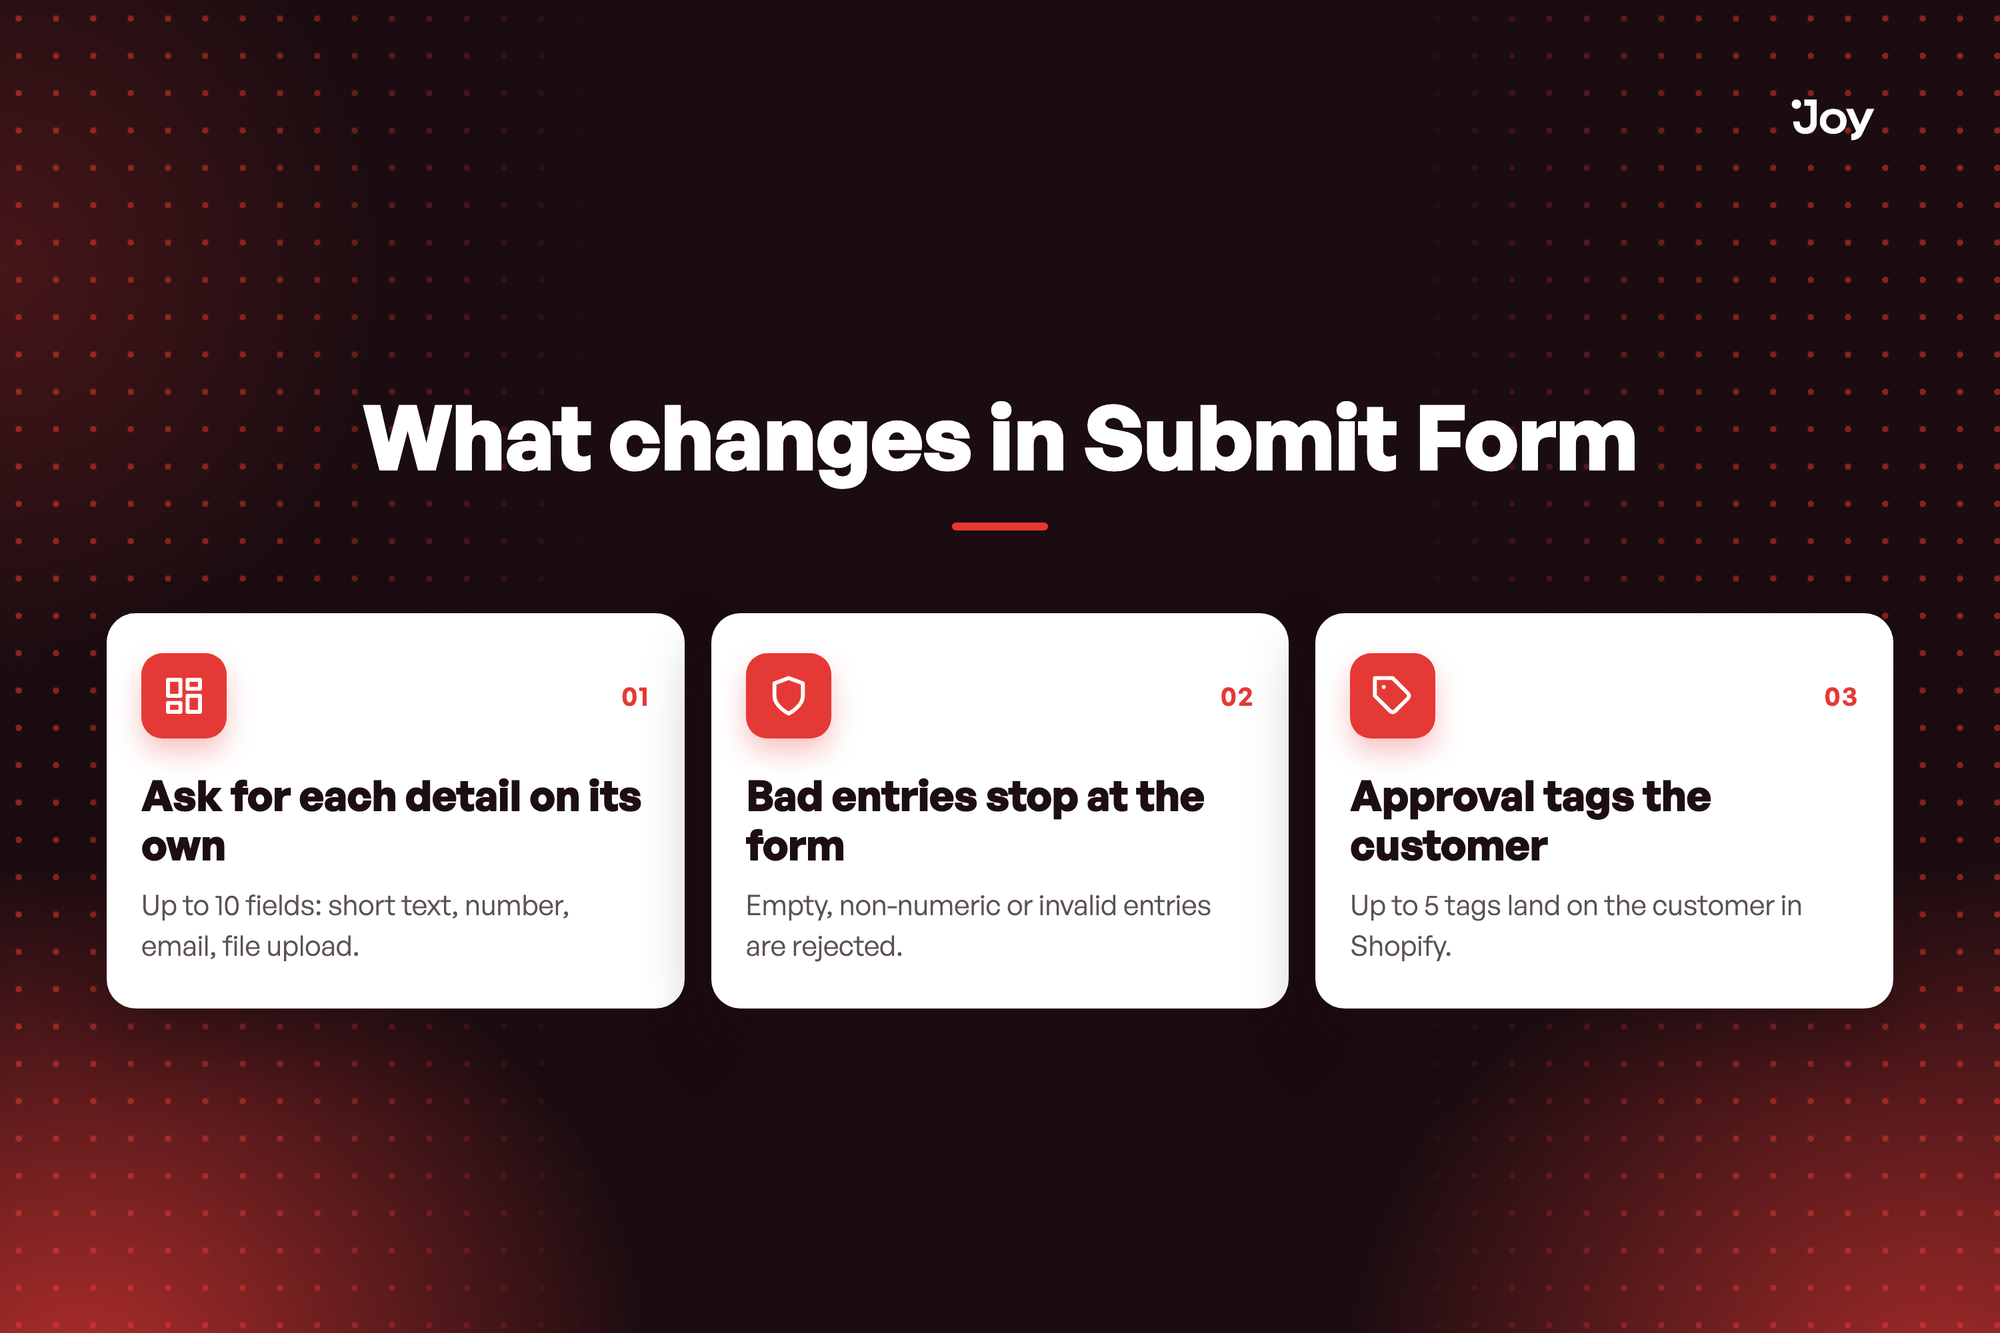
Submit Form used to give every customer one text box and one upload. A customer who bought off-store typed the order ID, the amount and the marketplace into that single box, and you split it by hand at review.
Ask for each detail on its own
Up to 10 fields: short text, number, email, file upload. Mark each one Required, reorder them as you like, and name each field after the detail you need.
Bad entries stop at the form
Empty, non-numeric or invalid entries are rejected. An empty Required field, a total that isn't a number or an email that isn't valid never becomes a submission. Nothing is stored and no points are awarded, whether it comes from the widget or the API.
Approval tags the customer
Up to 5 tags land on the customer in Shopify. Add them under Customer tags. Joy adds them the first time you approve a submission, by hand, in bulk or with auto-approve.
How do I reward customers who bought on Amazon, and tell them apart later? Add a Short text field for the order ID, a Number field for the total and a File upload for the receipt, all Required. Add the tag Amazon under Customer tags. Approve a submission and that customer carries the tag in Shopify, ready to filter.
How to access and use
- In Joy, go to Reward programs → Earning programs, then open a Submit form program or click Add new and select Submit form.
- On the Rule tab, in Submission requirements, click Add field, pick a type, name it under Label and tick Required where the answer is a must. Click Done.
- In Approval settings, type a tag under Customer tags and click Add. Repeat for up to 5 tags.
- Click Save. Review entries in Activities → Submitted forms and click a row to see every answer.